Tuesday, September 27, 2011

Underside of the car and getting ready to block

This was not pleasent work. It was hot and messy. Not many pics but we used grinders and wire brushes to clean most of the rust. We then hit the entire area with Phosphoric Acid. The next day we cleaned things up and sprayed the entire bottom with paint. We then applied a rubber coating over the top.


Tuesday, August 23, 2011

Inside painted

Even though I've enjoyed this whole process, the last part has been my least favorite. We stripped/repaired the floor boards, stripped repaired the front cowl/firewall and painted it all with Transtar 2k Epoxy Primer/Sealer.


Starting on the floor pans


Repairing the lower wind shield channel


cutting away the rusted floor sections


More cleaning


Floor rust gone


Front cowel cleaned - this was not much fun and time consuming.


Nolan cutting the patches


Patches glued in place. That's right glue. 3m panel glue.


prepping the area to paint. $45 steal for the Harbor Freight tent


Nolan getting ready to shoot


The hard part first


Finished view


More finished view


ahh yea


From the trunk


wonderful. 

Monday, August 8, 2011

getting closer

After a 2 week hiatus to Montana, we returned to 100 degree Missouri heat. We spent the better part of a week stripping fenders and doors using Aircraft stripper.  It was amazing how long this took but when you think about it, the doors and fenders are probably 1/5 of the exterior surface.


Fenders clean


Doors and fenders in epoxy. 


It rained one day so we had to burn the pile with 69 Chevelle gas.


Rolling the suburban.


Sunday, July 3, 2011

Epoxy primer


Got this done last weekend. We used DuPont Nason 2 part epoxy primer. We shot the rear of the car, deck lid and the hood. It came out really nice. 2 coats.

Note to self, get a better mask and wear a full paint suit when shooting this stuff.

The high build primer is next. 


Tuesday, May 24, 2011

quarter ready

This whole time since the last post has been spent taking the quarters off, tweaking here, putting the quarters on, back off....

I'm betting we have had them on and off over 100 times. Once we get the roof drip rails on we will finally be ready to put the quarter panels in for good.

No particular order


Nolan cleaning up the inside of the rocker.


We glued the rocker repair piece on the drivers side. Here is the finished product.


This is the welded side.


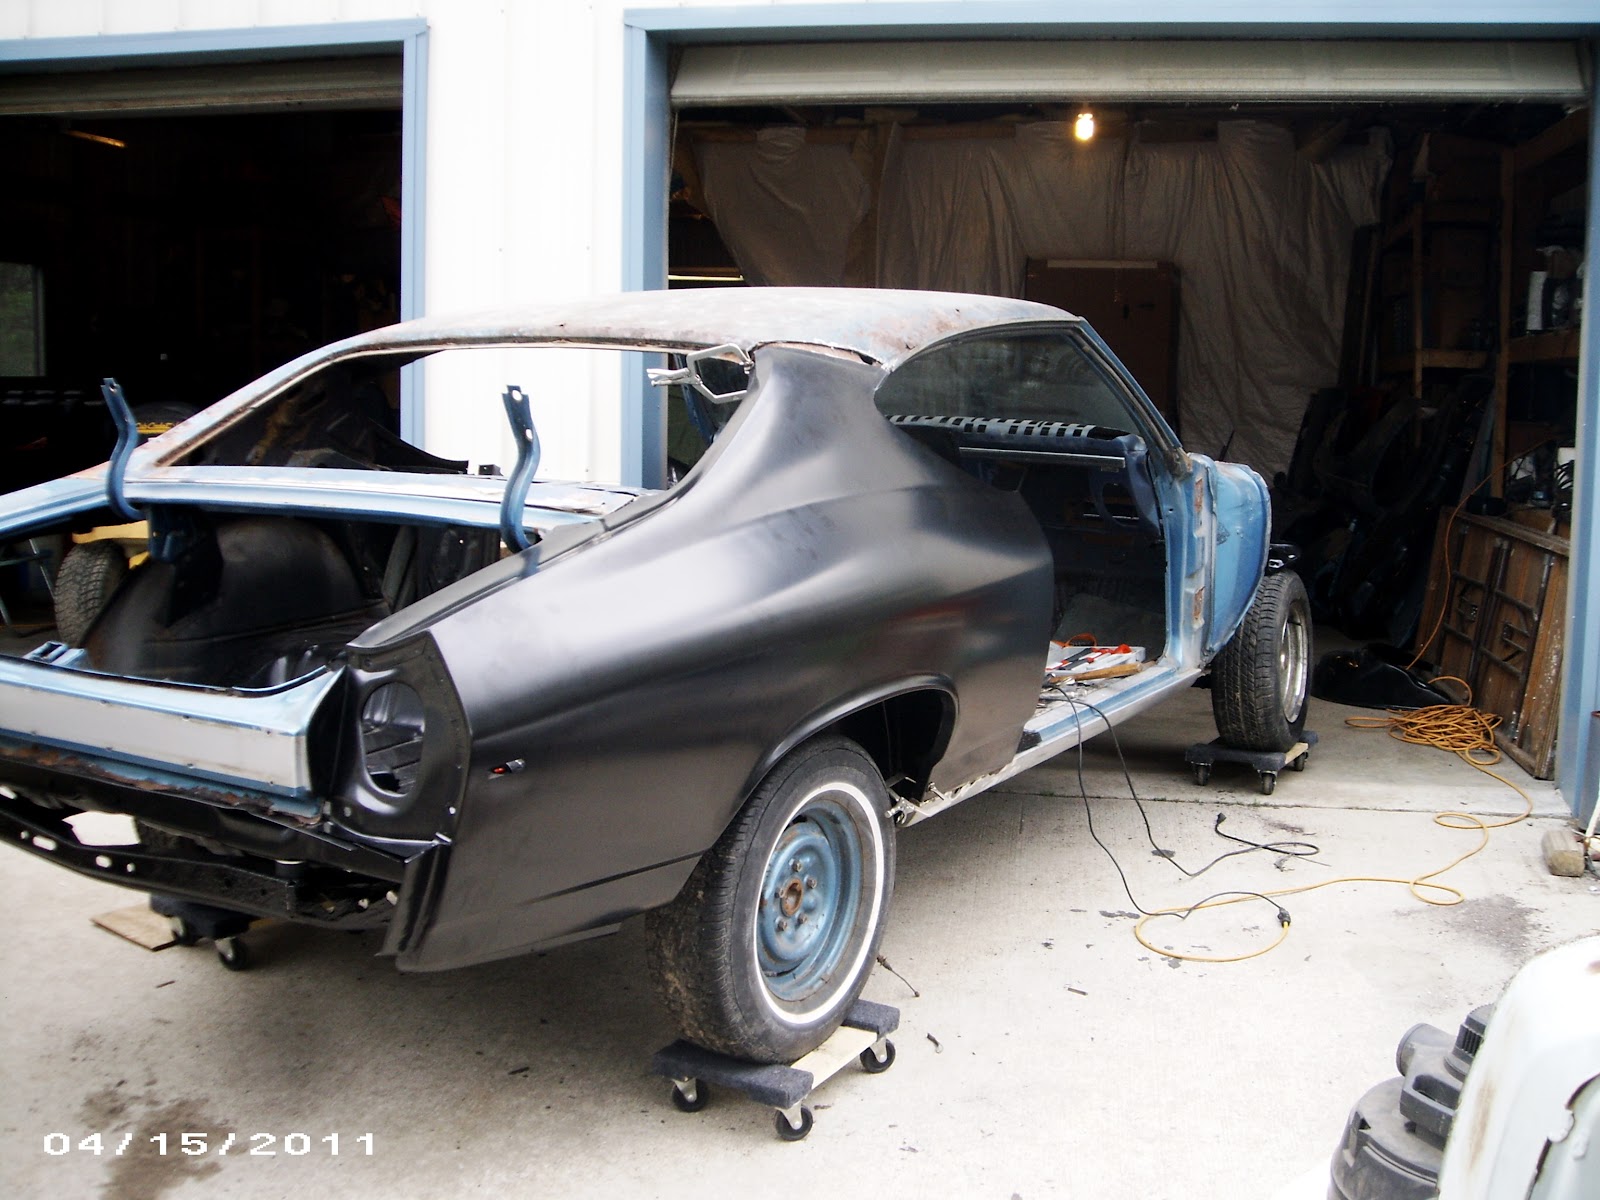
We put the hood and fenders on for fun. They're coming back off soon


Turned around and saw this 5 foot black snake staring at me.


Year of the Locust.


Nolan welding in the wheel wells.


It's all about the door gaps. This one is as good as we can get. There's a few welding tricks we'll do down the road to close the gap up a bit.


I just like this photo


Bumper and rear light units


boy and car


Friday, April 22, 2011

replacing metal

Now that all the parts are in, we are in the process of mocking up the car. Using clamps and sheet metals screws, we'll put most of the car back together. We've already made a few minor mistakes. We screwed up the roof drip rails and the old quarter rain gutters. I had assumed the new metal would come with those.

Once we mock it all up and are sure of the fit, we'll take the quarters off and epoxy primer all the new stuff.

Passenger side wheel wells being placed


Passenger Side Quarter Panel in place

Drivers side wheel well going into place


Both Sides on roof off.
Tomorrow will be spent getting a better fit on the drivers side.


Dinner. Rice with Cilantro/mint/cashews and lime. Chicken soaked in coconut milk, tumeric, garlic and lime.