Tuesday, January 24, 2012

2 steps forward 3 steps back

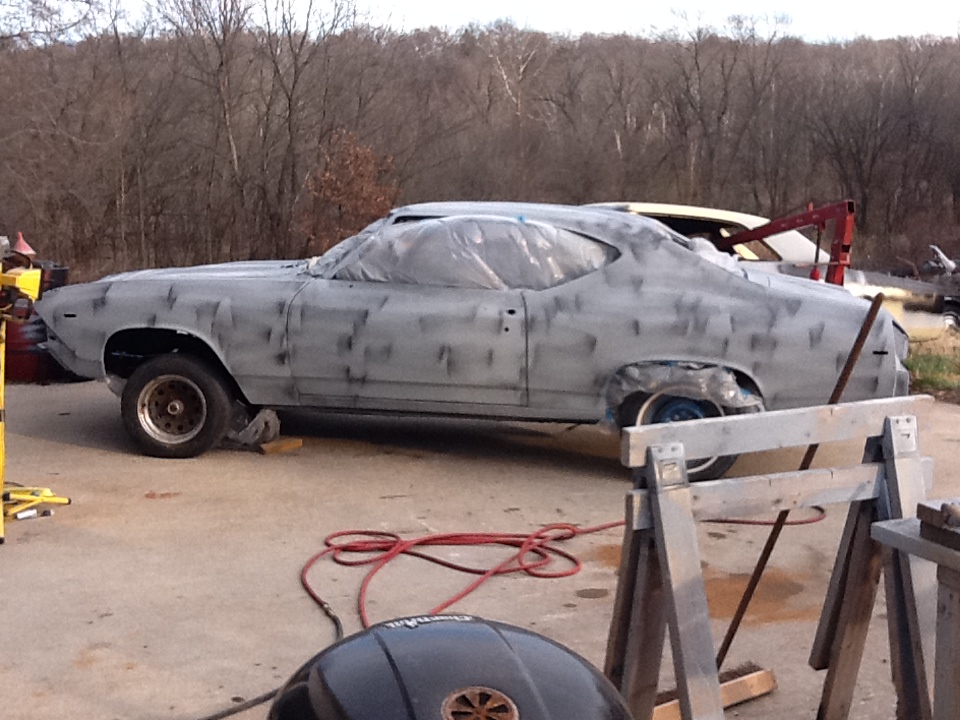
We prepped for paint and painted. Too bad it did not go as planned. It was too windy and there was way too much debree in the air. We had pre-mixed the entire gallon of paint so we shot it anyway. It was good paint practice. One of the fenders bit the ground that day. Dented pretty bad. It took a while to refix that one.

The car is truly ready for paint now.

We will sand down and begin again. It did give us pause to return to some body work we had skimped on. Like welding on the doors to close the gaps.


Getting the tail lamp/trunk panel gap correct.


Other random pics. Reprimed doors and fendor after more body work.


Tuesday, December 6, 2011

It's been a bit but work has not stopped. We've done a bunch of fitting on the car and tested out the Hot Rod Black color we are using to paint.


The weather was mild for November so we managed to fit the car together and spray on 3 coats of high build.  The black spray is the guide coat which will have to be sanded down.


We took some time off to intall this bad boy in the shop. It'll help this winter. Thanks to Pam Hinton for the stove. Cooking Chili on the top is cool.


Next is the blocking. Still a ways to go. After we are done blocking the car down and fixing the high/low spots - we'll spray it with 2 more coats of high build and block it again with 320 grit. If we have no more issues, we'll wet sand with 600 and then paint.


Tuesday, September 27, 2011

Underside of the car and getting ready to block

This was not pleasent work. It was hot and messy. Not many pics but we used grinders and wire brushes to clean most of the rust. We then hit the entire area with Phosphoric Acid. The next day we cleaned things up and sprayed the entire bottom with paint. We then applied a rubber coating over the top.


Tuesday, August 23, 2011

Inside painted

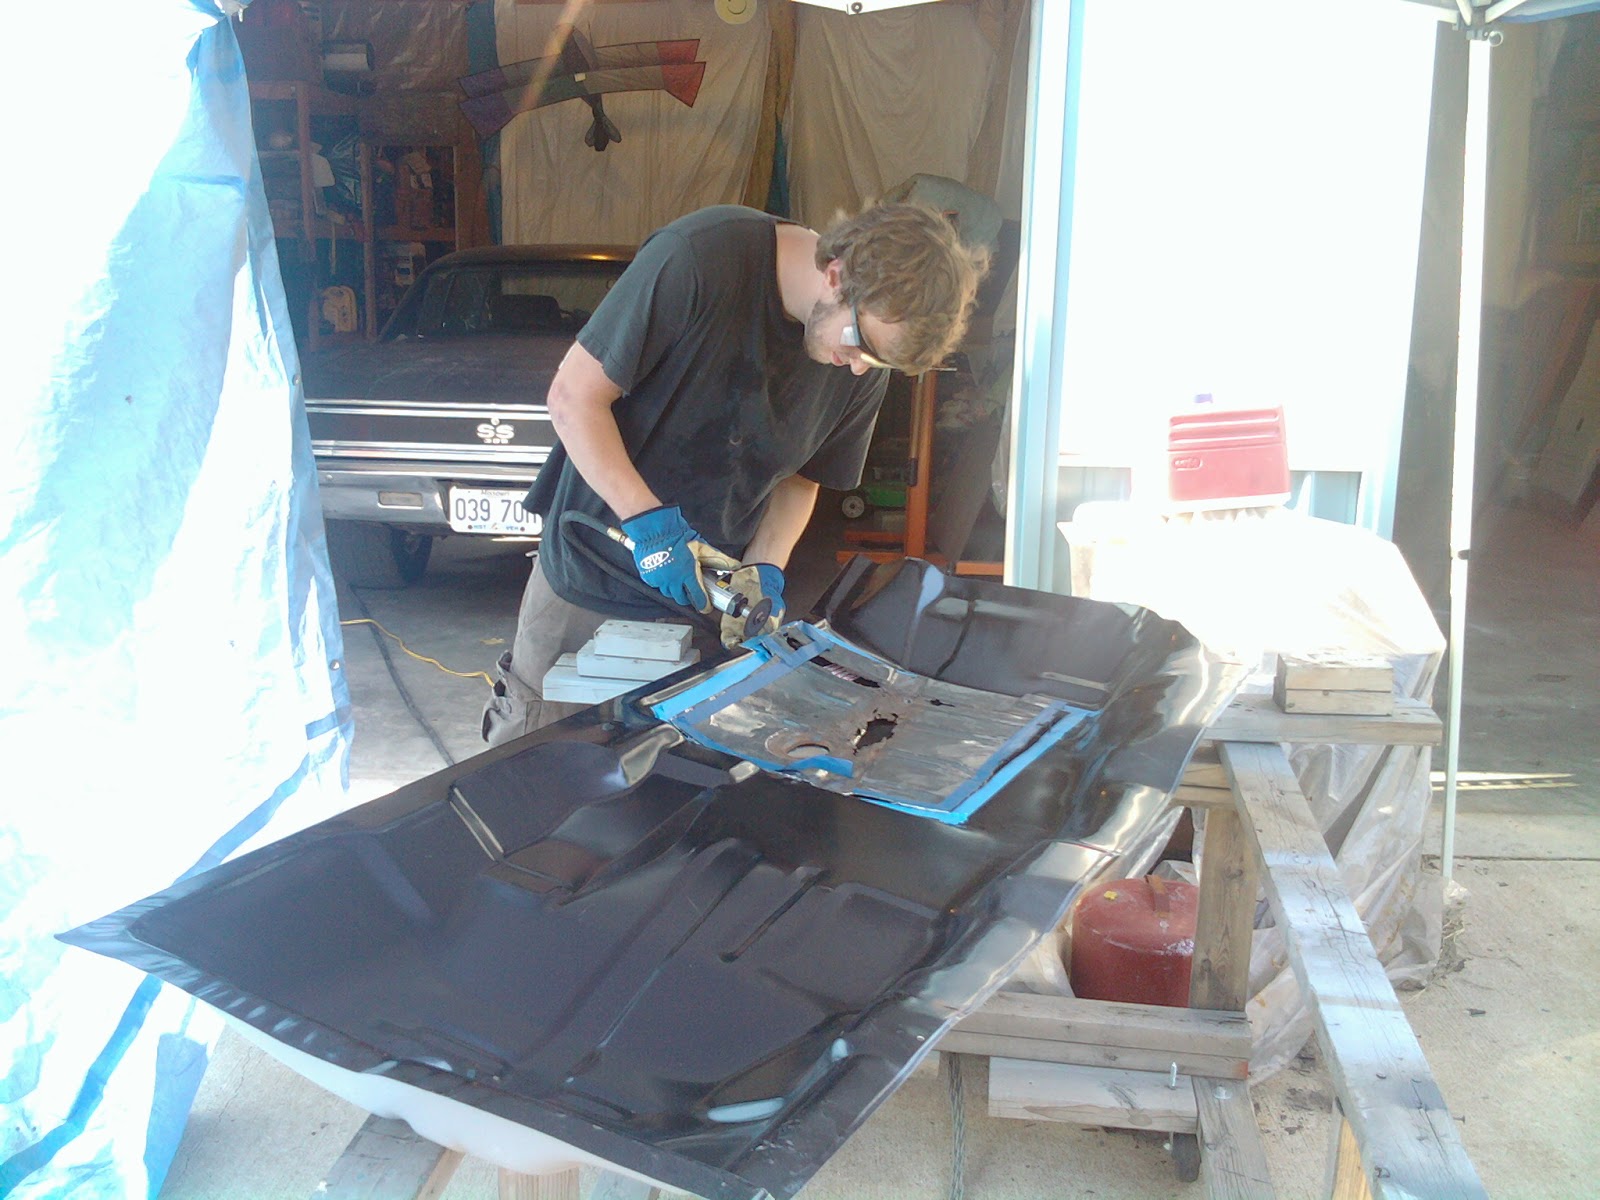
Even though I've enjoyed this whole process, the last part has been my least favorite. We stripped/repaired the floor boards, stripped repaired the front cowl/firewall and painted it all with Transtar 2k Epoxy Primer/Sealer.


Starting on the floor pans


Repairing the lower wind shield channel


cutting away the rusted floor sections


More cleaning


Floor rust gone


Front cowel cleaned - this was not much fun and time consuming.


Nolan cutting the patches


Patches glued in place. That's right glue. 3m panel glue.


prepping the area to paint. $45 steal for the Harbor Freight tent


Nolan getting ready to shoot


The hard part first


Finished view


More finished view


ahh yea


From the trunk


wonderful. 

Monday, August 8, 2011

getting closer

After a 2 week hiatus to Montana, we returned to 100 degree Missouri heat. We spent the better part of a week stripping fenders and doors using Aircraft stripper.  It was amazing how long this took but when you think about it, the doors and fenders are probably 1/5 of the exterior surface.


Fenders clean


Doors and fenders in epoxy. 


It rained one day so we had to burn the pile with 69 Chevelle gas.


Rolling the suburban.


Sunday, July 3, 2011

Epoxy primer


Got this done last weekend. We used DuPont Nason 2 part epoxy primer. We shot the rear of the car, deck lid and the hood. It came out really nice. 2 coats.

Note to self, get a better mask and wear a full paint suit when shooting this stuff.

The high build primer is next.